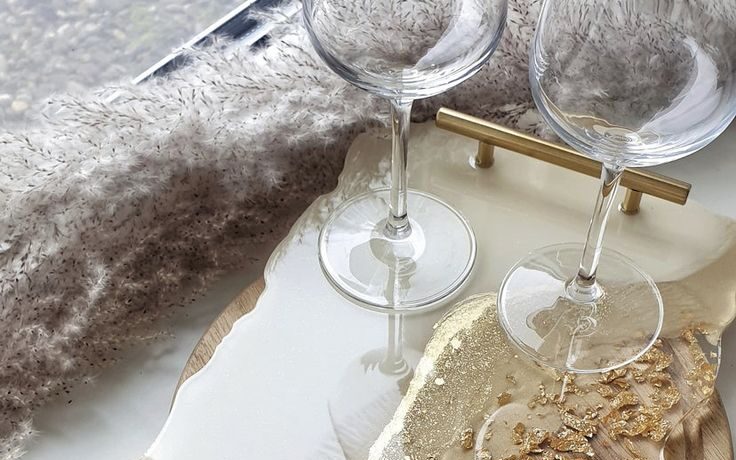
Resin products have taken the crafting world by storm. With their versatility and stunning finish, they open up a realm of creative possibilities. Whether you’re an experienced artist or a curious beginner, resin can elevate your projects to new heights. Imagine creating beautiful jewelry pieces that shimmer in the light or designing functional art for your home—resin makes it all possible.
In this guide, we’ll explore everything you need to know about using our resin products effectively. From types of resins available to essential tools and tips for avoiding common pitfalls, we’ve got you covered. Prepare to unleash your creativity as we dive into the enchanting world of resin!
Types of Resin Products Available
Resin products come in various forms, each catering to different creative needs. Epoxy resin is a favorite among crafters and artists. It’s versatile, durable, and perfect for casting or coating surfaces.
Polyester resin offers another option. It’s often used in fiberglass projects due to its fast curing time. This type can be less expensive but requires more care during application.
UV resin has gained popularity for quick fixes and small projects. It cures under ultraviolet light, making it ideal for jewelry-making or tiny crafts where precision is key.
Casting resin provides an exciting avenue for creating unique sculptures or art pieces. Its ability to capture intricate details opens up endless possibilities for artistic expression.
Each type of resin serves distinct purposes while allowing creativity to flourish across various mediums. Explore these options to find the right fit for your next project!
Tools and Materials Needed for Working with Resin
To create stunning resin projects, having the right tools and materials is essential. Start with high-quality epoxy resin and a hardener that suits your project needs.
You’ll also need mixing cups and sticks for accurate measurements and thorough blending. A digital scale can help ensure precise ratios, which is crucial for successful curing.
Don’t forget gloves to protect your hands from sticky messes. Silicone molds come in handy for casting various shapes, while a heat gun or torch helps eliminate bubbles trapped in the mixture.
Also consider pigments or dyes if you want to add color to your creations. Decorative items like glitter or dried flowers can enhance visuals further.
Keep some sandpaper on hand for finishing touches after curing. This collection will set you up nicely as you dive into the art of resin crafting.
Inspiration and Ideas for Using Resin in Different Projects
Resin opens a world of creativity. You can create stunning coasters that double as art pieces. Add colors and designs to match your home decor.
Thinking bigger? How about crafting an eye-catching table top? Embed items like flowers or shells for a personal touch. Each piece becomes one-of-a-kind.
Jewelry making is another fantastic avenue. Resin allows you to preserve mementos, such as tiny photographs or dried herbs, turning them into wearable art.
For the adventurous, try creating wall art with layered resin pouring techniques. The interplay of colors and textures will captivate any viewer.
Consider using resin in outdoor projects, like garden ornaments or birdbaths. They’re weather-resistant and add charm to any space without fading over time justresin.com.au click here.
Common Problems and How to Avoid/Resolve Them
Working with resin can be a rewarding experience, but it does come with its challenges. Understanding common issues will help you avoid frustration and achieve stunning results.
One frequent problem is bubbles forming in the resin. This usually occurs when you mix the components too vigorously. To minimize this issue, stir slowly to limit air incorporation. If bubbles do appear, using a heat gun or torch lightly over the surface can help pop them.
Another challenge is uneven curing. Temperature plays a significant role here; ensure your workspace is at an optimal temperature for curing, typically between 70°F and 80°F (21°C – 27°C). Humidity can also affect curing time—working in dry conditions helps maintain consistency.
Sometimes color pigments may not blend well or settle at the bottom of your mold. To prevent this, always check that you’re using quality pigments designed specifically for resin projects. Mixing thoroughly ensures even distribution throughout your project.
Sticky surfaces after curing are another concern many face. This often indicates that the mixing ratio was off or insufficiently mixed material was used initially. Always measure accurately and combine both parts completely before pouring into molds.
Understanding these potential pitfalls allows you to work more confidently with resin products while minimizing setbacks along the way. With practice and patience, you’ll create beautiful pieces every time!


